adblock google chrome
microsof edge : extension

PKL:
ihttps://docs.google.com/forms/d/e/1FAIpQLSeWeipzzknU6acvp-AWxIWXqnO5Mrbmv7mXHh1_CTMAowHg3g/viewform dan untuk melihat sudah diinput atau belum akses kesini , bold kuning berarti sudah https://docs.google.com/spreadsheets/d/1WA5oFK6S5MVOIplEcDrm4KH3P5giLcsdnAe0743JvFo/edit?usp=sharing
sidang tugas akhir:
https://docs.google.com/forms/d/e/1FAIpQLSds0AWVpb2z9AY7f2SXiH3bmuUYXuV-Dwnap6-JWJO_mtTm4Q/viewform
untuk melihat pengumpulan
https://docs.google.com/spreadsheets/d/1OJvPpuvTSCMbJ_cU5kQtwC2rdMU5Q6-T-QGy9iLDJDI/edit?usp=sharing
Seminar:
https://docs.google.com/forms/d/e/1FAIpQLSevxOHSVyA9MPQ1WL8JZW9x0zQ-vRECz2vdZg7XYNNJB77z8w/viewform
lihat berkas pengumpulan
https://docs.google.com/spreadsheets/d/1w9DWFpy7fhF8FRC-6VPmzKX9CbLBlMuiBOAC0RzmRMw/edit?usp=sharing
CountIF
=countif('sep2022'!$F$7:$F$99;B3)
hasil di sheet berbeda, B3 nilai string untuk perbandingan
$ nilai tetap
Rumus menghitung banyaknya sel pada range.
=COUNT(cell pertama:cell terakhir)
5. COUNTA
Hampir sama dengan COUNT, rumus Excel COUNTA digunakan bukan hanya menghitung jumlah sel yang berisi angka, tetapi juga sel berisi apapun. Sehingga Anda bisa menghitung jumlah sel yang tidak kosong.
Contohnya, Anda memiliki data angka dan juga kata pada sel A1 sampai dengan sel P1. Di antara sel tersebut terdapat beberapa sel yang kosong. Untuk menghitung jumlah sel yang berisi data, Anda bisa menggunakan rumus Excel:
=COUNTA(A1:P1)
6. TRIM
Rumus Excel TRIM berguna untuk menghapus spasi yang berlebih pada kalimat yang ada di sel. Rumus ini hanya bisa diaplikasikan pada satu sel saja. Contoh rumusnya adalah:
=TRIM(A3)
7. IF
Rumus IF merupakan rumus Excel yang digunakan untuk memainkan logika tertentu. Rumus ini memang cukup kompleks untuk digunakan. Biasanya rumus ini digunakan untuk menganalisis data benar/salah dan lulus/tidak lulus.
Contohnya jika Anda ingin mendapatkan data mahasiswa yang lulus dan yang mengulang sesuai dengan nilai rata-rata yang ditentukan, Anda bisa menggunakan rumus logika ini:
=IF(A2>75;"LULUS";"MENGULANG")
8. AND
Rumus Excel AND digunakan untuk menentukan benar (TRUE) atau salah (FALSE) pada data yang ada di sel menggunakan rumus logika.
Contohnya saat Anda ingin mencari tahu "apakah nilai A1 lebih dari 75 dan kurang dari 100?" maka bisa menggunakan rumus ini. Jika data pada sel memenuhi kriteria maka akan muncul hasil dengan tulisan TRUE begitu sebaliknya. Rumusnya adalah:
=AND(A1>75;A1<100)
9. OR
Hampir sama dengan rumus AND, rumus OR juga berfungsi untuk menentukan salah atau benarnya data yang ada di sel. Bedanya, rumus AND harus memenuhi semua kriteria yang ada di rumus logika, sedangkan rumus OR boleh memenuhi salah satu kriteria rumus logika.
Contohnya jika Anda memiliki data angka, dan ingin mencari tahu "apakah nilai A1 kurang dari 60 atau lebih dari 90?". Jika memenuhi salah satunya maka akan muncul hasil TRUE. Begini rumusnya:
=OR(A1<60;A1.90)
10. NOT
Rumus Excel NOT adalah kebalikan dari rumus AND dan OR. Karena rumus ini akan memunculkan jawaban TRUE pada data yang tidak masuk kriteria.
Contohnya Anda mencari tahu "apakah nilai A1 tidak lebih dari 100?" jika angkanya adalah kurang dari 100 maka akan muncul hasil TRUE. Rumusnya adalah:
=NOT(A1>100)
11. VLOOKUP
Rumus satu ini memang cukup susah dan ribet. Tapi, jika mengerti tujuan dan penggunaan rumus ini, pekerjaan akan lebih mudah dan ringkas. Rumus Excel VLOOKUP digunakan untuk mencari data secara vertikal atau tegak. Dengan rumus berikut:
=VLOOKUP(lookup_value,table_array,col_index_num,[range_lookup])
Keterangan:
Lookup_value: Isi sel atau nilai yang diketik.
Table_array: Sel atau tabel yang digunakan untuk rujukan pencarian.
Col_Index_num: Kolom yang ditunjukkan untuk mengambil nilai.
Range_Lookup: Bisa dikosongkan, bisa juga diisi dengan "True" untuk tabel yang disusun berurutan dengan pencarian diartikan sebagai sama dengan atau lebih kecil. Bisa diisi dengan "False" untuk tabel yang tidak harus berurutan dan diartikan sebagai sama persis.
12. HLOOKUP
Sama halnya dengan VLOOKUP, rumus Excel Hlookup digunakan untuk mencari data, bedanya rumus ini ditujukkan untuk data-data horizontal atau mendatar. Dengan rumus yang digunakan adalah:
=HLOOKUP(lookup_value,table_array,col_index_num,[range_lookup])
13. CHOOSE
Rumus Excel ini digunakan untuk memilih dan menampilkan suatu nilai pada satu list nilai. Rumus ini digunakan untuk memilih 1 nilai sampai 254 sesuai dengan nomor indeks.
Contohnya, nilai 1 - 7 adalah nama hari dalam satu minggu, rumus ini akan menempatkan nama salah satu hari jika menggunakan nomor indeks 1 sampai dengan 7. Rumusnya adalah:
=CHOOSE(index_num,value1,[value 2],.....)
14. PRODUCT
Rumus Excel ini berguna untuk melakukan perkalian pada data yang ada di suatu range. Rumus Excel ini ditulis seperti di bawah ini:
=PRODUCT(numb1_numb2)
Contohnya, jika ingin mengalikan data pada kolom B3 dan B9, maka rumusnya menjadi =PRODUCT(B3,B9).
15. POWER
POWER digunakan untuk menghasilkan bilangan pangkat, misalnya Anda sedang mencari tahu 6 pangkat 12, letakkan angka 6 misal pada kolom A3 dan angka 12 pada B2, maka gunakan rumus di bawah ini:
=POWER(A3,B2)
16. SQRT
Rumus yang berfungsi untuk menghasilkan nilai akar dari bilangan. Misalkan Anda ingin mencari tahu akar dari 144, maka bisa menggunakan rumus:
=SQRT(144)
17. CONCATENATE
Rumus Excel ini digunakan untuk menggabungkan data. Misalkan Anda ingin menggabungkan data di kolom C1 dan C2, maka rumusnya adalah:
=CONCATENATE(C1;C2)
18. CEILING
Rumus ini digunakan untuk membulatkan angka pada kelipatan sepuluh ke angka atas terdekat. Misalkan Anda mencantumkan data di B2 sebesar Rp 36.399, jika menggunakan rumus ceiling, akan menentukan hasil pembulatan ke angka atas terdekat menjadi Rp 36.400, dengan rumus:
=CEILING(B2;10)
19. COUNTIF
Rumus COUNTIF adalah rumus Excel yang digunakan untuk menghitung jumlah sel yang memiliki kriteria sama untuk kebutuhan sortir data.
Misalkan Anda sedang melakukan survei dan ingin tahu kecenderungan orang membaca berita (Online atau Koran), dari 100 responden, berapa orang yang lebih menyukai membaca berita melalui koran. Jika data responden ada di kolom B2 sampai B101, maka rumusnya adalah:
=COUNTIF(B2;B101;"Koran")
20. PROPER
PROPER berfungsi untuk mengubah huruf pertama pada teks menjadi huruf kapital, misalnya Anda menulis "warga negara indonesia" di el A2, maka gunakan rumus excel ini:
=PROPER(A2) untuk menghasilkan teks "Warga Negara Indonesia".
Demikian rumus Excel lengkap dari pengolahan data dasar hingga yang menggunakan logika. Dengan menguasai rumus Excel tentunya akan ada nilai tambah pada diri Anda dan menjadikan pengolahan data lebih singkat serta mudah.
1. # parted -l
2. mklabel msdos
3. mkpart primary ext4 0 2048MB
4. mkfs.ext4 /dev/sdb1
5 mkdir data1
6. mount /dev/sdb1 /mnt/sdb1
buar restart gak perlu mount
mount -t auto /dev/sdb1 /mnt/sdb1
7, df -hT
Storage devices play a critical role in the working of any system. Different operating systems use various types of file structures to store data. So generally we use GPT or MBL file storage styles for that. With the help of these two we can create partitions in a storage device. Also , We can split large memory sized devices into smaller sub-segments called partitions. Partitioning enables us to split our storage drive into multiple parts. Where each part acts as a seperate single storage drive. Apart from that we can use these partitions to install multiple operating systems in the same machine. Here we will learn to create partition in linux.
In general, this tutorial I will guide you through all the detailed wise steps. Here I am using the ubuntu server to create partitions. Furthermore ,with the help of this tutorial you will be able to create partitions on many similar linux distributions.
Now , I will explain you how to create disk partition in ubuntu using parted command utility.
We need to check all the available partitions and hard disks. For that, we will use the following command to display all the available partitions and hard disks. It will also dosplay the storage volumes which are not in use. Here, ‘-l’ flag means to ‘list’ the vailable partitions and hard disks.
# parted -l
As you can see there are 3 available hard disks in this system. /dev/sda is the hard disk in use. Two other Hard disk volumes which are not in use are /dev/sdb and /dev/sdc .So here I will create partition in the unused disk /dev/sdb.
Open the disk by using the following command.
# parted /dev/sdbThen enter the following command at the ‘parted’ prompt .
# mklabel msdos
Next we will create a new primary partition of size 2GB and then print the partition table. For that, we will use the following command.
# mkpart primary ext4 0 2048MB
NOTE: Make sure that you specify the correct device for partition , otherwise it would randomly pick a storage device.
As the total size of the hard disk attached to the system is around 4 GB. Now , we can create another partition from the remaining hard disk available. Similarly enter the same command to create another partition out of it. enter the following:
# mkpart primary ext4 2048MB 4341MB 
NOTE: Here 512B and 2049M are the starting blocks of the first and the second partition.
Now enter the ‘quit’ command to get out of the parted prompt . The changes made to the disk will be saved automatically.
To create the file system types we can use the mkfs utility. Enter the following command to do that.
# mkfs ext4 /dev/sdb1
# mkfs ext4 /dev/sdb2


Finally to access those partitions and to make their complete use , We need to mount them.Enter the following set of commands to mount these partitions.
# mkdir -p mount /sdb1
# mkdir -p mount /sdb2
# mount -t auto /dev/sdb1 /mnt/sdb1
# mount -t auto /dev/sdb2 /mnt/sdb2
Now after successful mounting of both the partitions, we can check whether the newly created partitions are available there for use or not. For that , use the df command.
# df -hT
Here we can see /dev/sdb1 and /dev/sdb2 are succesfully created and all their details are displayed as shown above.
In this tutorial I had shown you how to create partition in linux easily. To make that much simpler I chose an unused hard disk volume, so that you can get a better understanding from scrap level.
apt update
apt install apache2
ufw enable
ufw allow apache
apt install openssh-server
ufw allow ssh
apt install php php-zip php-json php-mbstring php-mysql
wget https://files.phpmyadmin.net/phpMyAdmin/5.2.0/phpMyAdmin-5.2.0-all-languages.zip
unzip phpMyAdmin-5.2.0-all-languages.zip
mv phpMyAdmin-5.2.0-all-languages /usr/share/phpmyadmin
mkdir /usr/share/phpmyadmin/tmp
chown -R www-data:www-data /usr/share/phpmyadmin
chmod 777 /usr/share/phpmyadmin/tmp
nano /etc/apache2/conf-available/phpmyadmin.conf
isinya :
Alias /phpmyadmin /usr/share/phpmyadmin
Alias /phpMyAdmin /usr/share/phpmyadmin
<Directory /usr/share/phpmyadmin/>
AddDefaultCharset UTF-8
<IfModule mod_authz_core.c>
<RequireAny>
Require all granted
</RequireAny>
</IfModule>
</Directory>
<Directory /usr/share/phpmyadmin/setup/>
<IfModule mod_authz_core.c>
<RequireAny>
Require all granted
</RequireAny>
</IfModule>
</Directory>
=====================
sudo a2enconf phpmyadmin
sudo systemctl restart apache2
http://your-server-ip-domain/phpmyadmin
password mysql ???
apt install mysql-server
sudo mysql -u root
mysql> flush privileges;
mysql> USE mysql
mysql> ALTER USER 'root'@'localhost' IDENTIFIED BY 'pengentausaja';
opsi "dangerous"
mysql> ALTER USER 'root'@'%' IDENTIFIED BY 'pengentausaja';
atau buat user lain :
mysql>CREATE USER 'azila'@'%' IDENTIFIED BY 'pengentausaja@@@@@';
mysql>grant all privileges on *.* to 'azila'@'%' with grant option;
install wordpress
cd /var/www/html
wget https://wordpress.org/latest.zip
unzip latest.zip
cd wordpress
mv * ../
copykan ke /html semuanya
browser :
ketik alamat web (instalasi wordpress)
alamatweb/phpmyadmin
buat database
selesai.
user dimas
password: dimasuinjakarta@
phpMyadmin is the best web based client for accessing MySQL servers. It is freely available to download and install on your server. You can host this on any server running with Apache and PHP.
The phpMyAdmin is written on PHP. The current phpMyAdmin version is compatible with PHP 7.1 and newer and MySQL 5.5 or MariaDB 5.5 or newer.
This tutorial will help you to install and configure phpMyAdmin on Ubuntu 20.04 Linux system.
We are assuming you already have installed the MySQL server on Ubuntu system. So just install the other required packages to run and access phpMyAdmin.
Once the installation finished, enable and start Apache web server.
phpMyAdmin is also available under the default packages repository but mostly they have older version. In this tutorial, we will download latest phpMyAdmin and configure on our system.
Your system is ready for the phpMyAdmin installation. Download the latest phpMyAdmin archive from the official download page, or use the below commands to download phpMyAdmin 5.1.1 on your system.
After downloading extract archive and move to the proper location.
Next, create tmp directory and set the proper permissions.
Now, you need to configure web server to serve phpMyAdmin on network. Create Apache configuration file for phpMyAdmin and edit in text editor:
add the below content to file.
Save your file. Press ESC key to switch to command more. Then type : (colon) and type w after the colon and hit Enter.
After making all the changes, make sure to start the Apache service to reload all settings.
The systems with enabled firewalls need to allow HTTP service from the firewall. Run the below commands to open a port for the webserver in the firewall.
All done. You have finished the setup with the phpMyAdmin on Ubuntu Linux system. Now access phpMyAdmin with the server IP address or domain name.
Replace
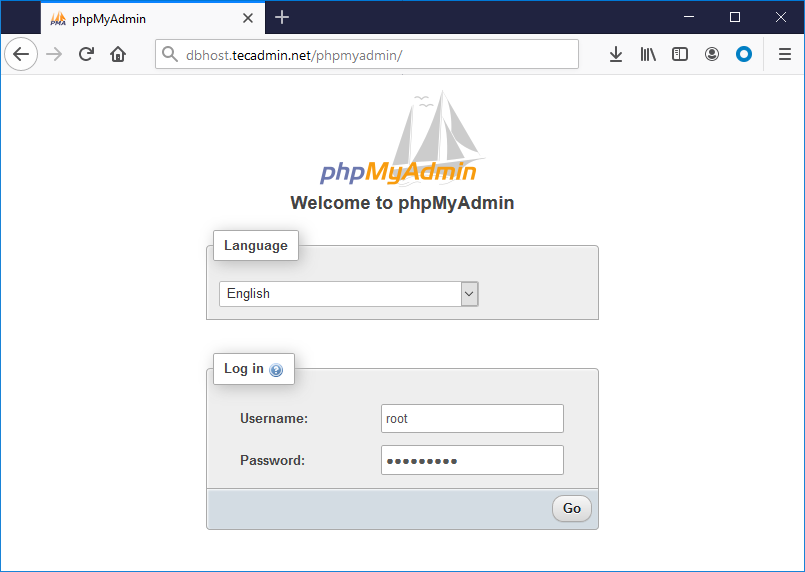
Log in with the username and password used to access MySQL on the command line.
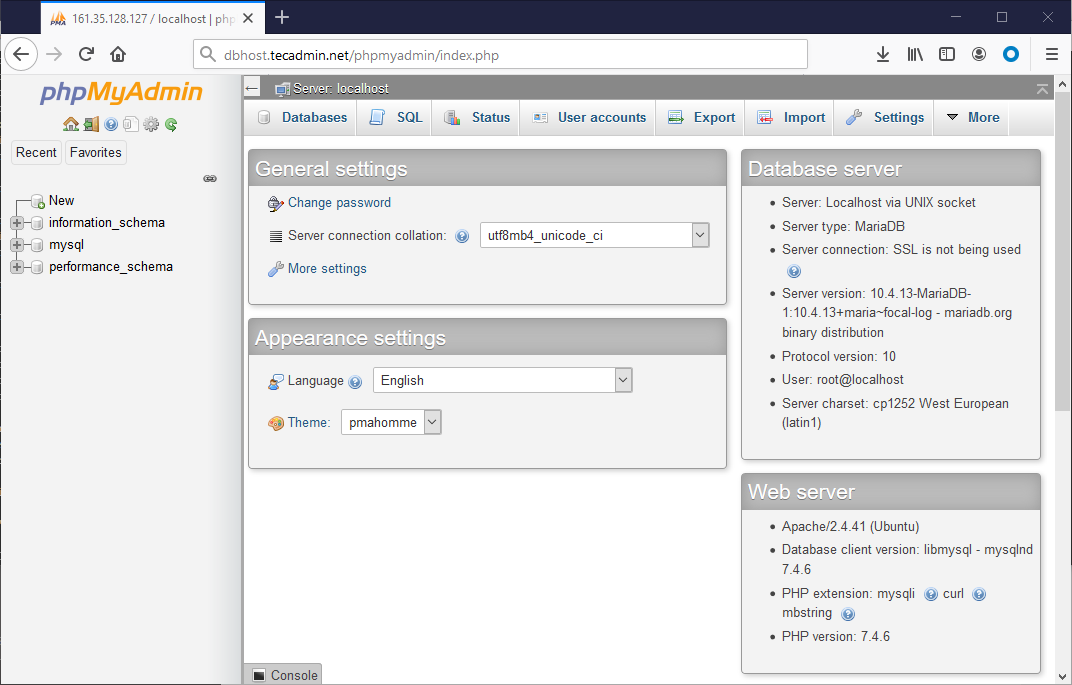
You have successfully configured phpMyAdmin on Ubuntu system. Let’s disable root user login for the phpMyAdmin for security purposes.
